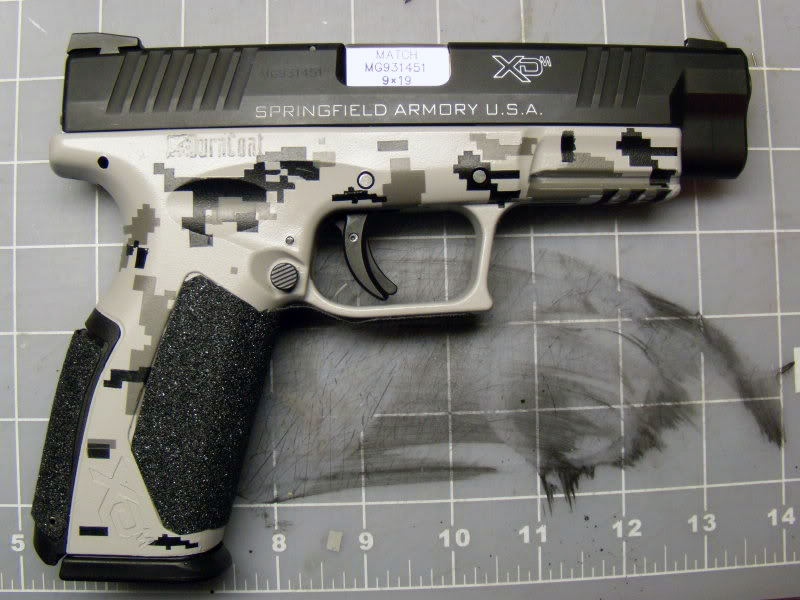

HOW TO: DURACOATING YOUR XDM
How to: DuraCoating your XDm
Article by vash_241987
I wanted to do a write up on on this subject so anyone who is planning on doing it can avoid some minor mess-ups and find out what items that I bought which didn't work or I didn't need. I'll be breaking down this how to in segments.
- Supplies
- Prep your gun
- Painting
- Mixing the Duracoat
- Applying the Duracoat
- Applying the male templates
- Applying the female templates
Supplies
Lauer Custom Weaponry is where I bought the Urban Mirageflage Camouflage color kit.
This is a list of what came in the package:
- 4oz. Matte Black
- 2oz. Snow Gray
- 2oz. Urban Mirage White
- 1oz. Hardener
Although not included in the base kit I added these extra items from Lauer:
- 4oz. Reducer
- Aerosol TruStrip Degreaser
- 1 Mirageflage/A.C.U. template for handgun
- DuraCoat Instructional DVD
I bought the 4oz. Reducer just in case the paint was too thick. I never used it, and my suggestion is that it is not necessary. If you take care and follow the mixing directions you should be fine without it.
You may not need the Aerosol TruStrip Degreaser if you already own a can of a quick drying degreaser. I realized I did not need this since I already had a can of Gun Scrubber
Mirage Template sheet for a handgun. Each pattern comes in several sizes either to fit the scaling of a handgun or rifle.
I felt the DuraCoat Instructional DVD was a waste of money. If you follow the free provided directions you should be just fine with your project.
Some extras supplies I bought at Hobby Lobby:
- 2 cans 15oz Airbrush propellant
- 4oz mixing jar
- Airbrush Kit
I bought two cans of airbrush propellant just in case, but found out one can was enough propellant for one whole pistol. I thought I would use the 4oz mixing jar to mix my DuraCoat, but ended up only using it once. My first Airbrush kit was purchased from Harbor Freight. That kit ended up leaking when I attached the propellant to it. I returned the defective unit and paid for a better airbrush at Hobby Lobby.
Other items you may find useful to have on hand:
- Lacquer Thinner
- Painters Tape
- Pin Punches in the following sizes: 1/16th, 1/8th and 3/32nd`s of an inch
- Hammer
- Pliers
- Box Cutter
- A wire Hanger
- A respirator
You will make the project easier for yourself if you can use an air compressor to power your air brush.
Preparing your gun
Start your project by detail stripping the frame. Use your pin punches to remove the pins from the frame. If you are having problems pushing them out with the punch, use the pliers to help you pull the pins out.
I used a Ziploc baggie and tape to hold the frame parts in their separate different assemblies.
After completely disassembling the frame, you will need to degrease the frame. Spray the TruStrip all over the frame soaking it in degreaser. Once the TruStrip has air dried you will need to mask off the areas you do not want to DuraCoat.
You will want to apply painters tape to:
- The magazine opening
- The top inside of the frame
- The trigger hole area
- Grip safety area
- Back-strap area
For the magazine opening I taped up the hole in the grip and then used a razor blade to cut around it.


Left: Your frame should be masked off like this. Right: The great thing about removing the back-strap and then painting is that the hole where the roll pin is can be used to put the hanger through. Now that that prep is done and you have the frame suspended on the hanger let’s got to mixing paint.
Painting your Gun
DuraCoat comes in two parts, the DuraCoat and a hardener. The instructions tell you for a proper mixture you will need to mix 12 parts DuraCoat to 1 part hardener.
Here is an example of some proper proportions:
- 4 tbs DuraCoat to 1 tsp Hardener
- 2 tbs DuraCoat to 1/2 tsp Hardener
- 1 tbs DuraCoat to 1/4 tsp Hardener
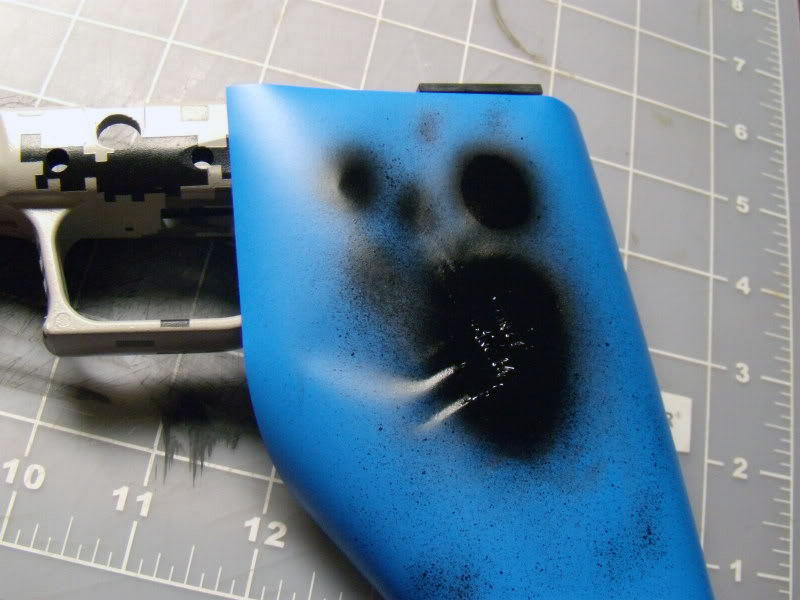
For this project you should only need about 1 tbs DuraCoat and a 1/4 tsp of hardener. This should be enough to coat the whole frame of a Springfield Armory XDm. Before mixing you need to vigorously shake the DuraCoat for a whole 3-4mins to properly mix and distribute the pigment in the DuraCoat .Once shaken carefully pour the Duracoat and hardener into the airbrush bottle and stir the mixture. You will need to stir the DuraCoat and hardener together enough to mix the two ingredients to the consistency of milk. Before painting don't forget a breathing apparatus and good ventilation. If you are using the airbrush propellant instead of an air compressor, you will have to limit your continuous spray time to spurts of 5-6 seconds in length. As you use the airbrush propellant the pressure in the can drops. That sudden drop in pressure will cool the can enough that it will freeze. The cold temperature in return further drops the pressure available for you to spray. A helpful hint is to place your airbrush propellant in a bowl of luke warm water to extend you spray time. Spray an even coat over the whole frame taking care not to miss any spots. On our example we applied Matte Black. When you are done spraying the base coat hang your frame up and out of the way to let it air dry for a minimum of 2-3 hrs. During this time you should empty out what is left in the bottle and run some lacquer thinner through the airbrush to clean it out. You can now take the time and prep your next color coat using the same directions as the first. The DuraCoat is good for about 6-8 hours once the hardener has been mixed in with the coat. After your base coat has dried you can proceed to put the templates on your frame for your second layer. I would recommend avoiding putting any of the templates on the front grip. With all of the bumps, the unevenness will make it hard to fully mask the front so it can end up looking like crap. I should know . If you decide to remove a template there will be residue left over from where it was placed. Use water, a rag, and some elbow grease to remove the residue, lightly wiping it off.... no scrubbing. When removing the the templates from the sheet use care if lifting them with cutters. It was really easy for me to accidentally cut through several of them.


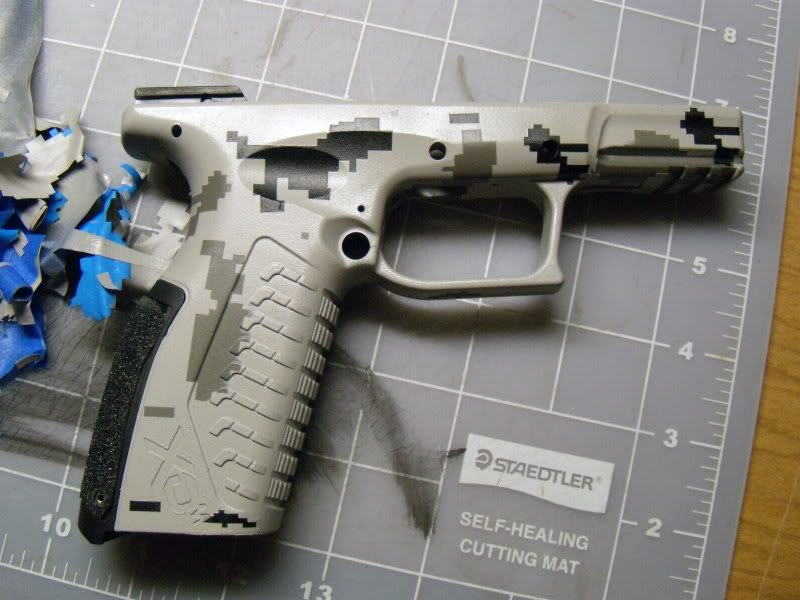
The base coat of Matte Black has been applied to the whole frame. Both pictures show some of the placement of the male template pieces in preparing for the second layer.

Repeat the previous process, I forgot to take pics of the 2nd template placements, I got too excited. Now with the last coat, if you decided to do the lightest color last, you might want to do another coat since the darker previous coats will show through. Now that you are done with all three layers and two template placements and you have waited with excitement for at-least 4-5hrs (just to let it set). It's time to remove your templates. Go easy with the cutters when removing them. You don't want to cut up your nice paint job. Go over the frame to make sure you didn't miss any.
After all have been removed, clean up all of the residue let behind from the templates with water and light rubbing.

Next up is the female templates. you will only be able to do about one at a time, but that’s ok. It will give the paint some time to dry. When you place the female templates make sure they are flush and there are no openings showing. Also, spray directly on top on the template...no angle shots. Give each accent time to dry. Once completely done with all the accents you want. Give it about 2-3hrs. to dry before reassembling it. I made the grip tape myself, I just went to a skate boarding shop and paid 5.50 for a skate board sized grip tape. I took a piece of paper and traced the shape of the grip and had a custom grip tape for my XDm.